Veepon haven't been in the industry very long, only establishing themselves in 2021 yet have already set themselves aside in a positive way from the rest of the AIO market. So is the Kuka going to live up to the same standard?
Let’s get a look into it and see what all the fuss is about!
Whats In The Box?
The best way to tell you what comes in the box is…. What ISNT in the box? At first glance the box itself is a nice simple designs with the Kuka logo sitting proudly on top with the ultroner logos on either side and the website for Veepon on the top and bottom edges. To the rear there is a little more information but nothing regarding the device or what is in fact in the box, Just the standard company details.
So now onto what’s on the inside of the box, And since I have received the pro version (there are two other versions available including a Evolv DNA kit) … There is a LOT to dig into.
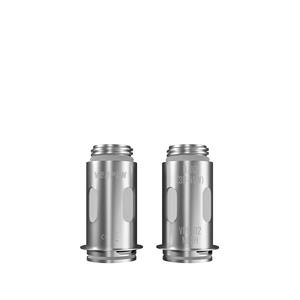
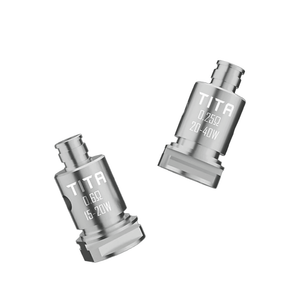
Inside the box of the pro version, you will get a user manual, Four battery wraps, two different coils (a 0.60 as well as a 0.30), Spare O rings, A fair selection airflow pins for the included RBA, A stock coil adapter with airflow control ring and USB-C cable. All this for the price point of the kit is well and truly exceptional value for money as it’s quite literally EVERYTHING you need!
Onto The Main Event, The Kuka!
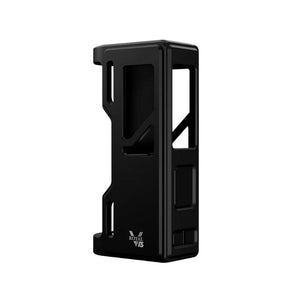
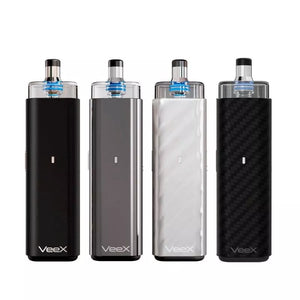
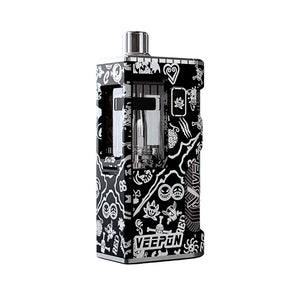
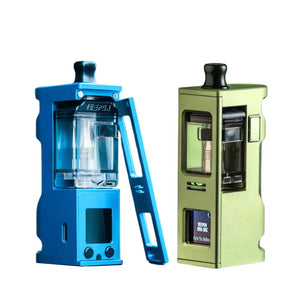
Of course on top of all of the above on the box you also get the main device itself, The Kuka AIO! Although yes, it's a simple design, I quite like the simple yet clean finish. It has nice clicky fire button, some airflow holes just on the side of the device with the USB C port being situated just below. It also comes with a clever little drip tip that Veepon have used on previous their previous devices. It's basically an integrated drip tip. When you pull the main part of the tip out you will see some tiny little teeth on the bottom. These teeth match up with the grooves on the bottom of the threaded part and allows you to unscrew your drip tip easier from the device or of course screw it back on. Pretty cool really!
Removing the panel on the front reveals a nice little brightly lit and clearly visible screen along with the wattage adjustment buttons. You will also see where the 18650 is needing to go. Unfortunately they did provide a battery pull that slides over the 18650 for easier removal of the battery as there is no pull tab… But I lost it.
When popping in your battery you'll see that the Veepon logo just pops up briefly and Five clicks will see the device turning on. You will then be greeted with a rather swanky animation of the KUKA logo on screen.
After turning on we can get into how the actual chip set works. Luckily this is really easy to use making it an easily accessible device to manage and use. Power adjustment is in five watt increments when simply clicked in once and whilst holding goes up in one watt increments. On the top of the screen you'll find your resistance in the center, your voltage and on the bottom VP 60 which is the chip inside the Kuka. Three clicks to the power button will rotate the screen and three clicks again will rotate it back. Holding the up and down buttons together will lock the wattage that you are on so you won't be able to adjust it in this setting.
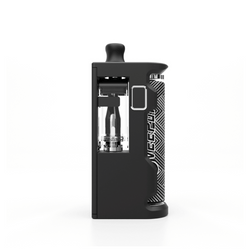
Checking out the other side of the Kuka, you'll notice you get airflow from two areas. You receive airflow from both the Boro at the bottom of the tank and also from the side of the device. You’ll also find a nice shiny “Kuka” sticker and Veepon logo there too .
A Closer Look At The KUKA RBA And Tank
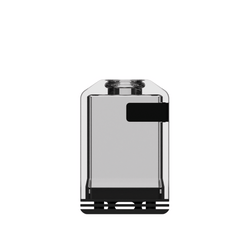
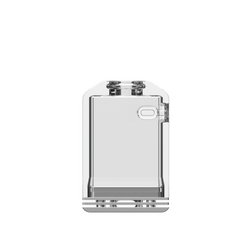
The RBA is a brand new addition to Veepons line-up and is included with both the “Pro” and “DNA” editions. I must say I rather like the look of the RBA itself. It looks quite a classy almost high end looking finish! Especially with the clear window which is a really nice touch and rounds up the whole look nicely. At the bottom of the RBA you’ll find the threaded airflow pin. The initial pre-installed airflow pin is 4mm so I saw to changing that straight away and changed it to a 3mm airflow pin.
Taking a closer look at the deck there are some generous wicking holes for your cotton and feeding ports in the mid section. And the deck definitely looks like a nice simple build deck, However I did have one issue. I didn't actually receive the tool to build it which is a very particular size being a 0.9mm Allen key. Which is a slightly odd move BUT it is indeed being fixed. Veepon have admitted that they kind of messed up not including this and are making sure any owner of the Kuka within the first batch bought, Receives their Allen key. A big thing for a company to do is admit to a mistake and deal with it this way so if you are in fact are missing your tool for this, Please email us!
Luckily enough, I've been sent one so I can actually chuck a build on the Kuka RBA to test it for you. I've gone for a nice fluffy approach just hovering in the center of the juice wells as the
first build I went for I wicked right to the bottom of the wells and I got dry hit city. I found this to be the best method of wicking. I’d say 3mm ID builds are the maximum recommended for this deck personally but to compliment it, It’s an incredibly easy deck to build on.
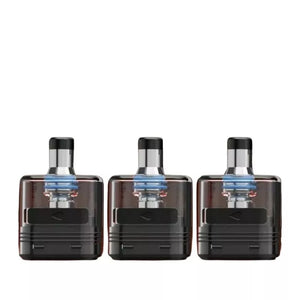
With the stock coils it’s a fairly uncomplicated affair to change your Boro from rebuildable to stock coil use. You simply match the threaded end on the coil with the threaded end of the adapter and screw them together. The best way I found of using the stock coil is by matching the airflow the coil to the with the airflow on the side of the mod. You can choose whether you want to use the airflow control ring but I use mine fully open so it's not necessarily needed.
The End Verdict
Let’s get straight into it. Obviously you've seen that I received the pro kit, which has an absolute abundance of stuff, which is a huge pro in my eyes because there's so many different options in there. You've got your stock coils, your stock coil adapter, you've got the RBA included as well with multiple airflow pins to choose from… It’s everything you could want and need for your AIO from the get go. A HUGE Pro there as you can truly tailor your experience to exactly how you want it to be!
Build quality is decent to me. There's a very tiny bit of door rattle but it really isn’t that noticeable as you’d have to be doing some bizarre hand movements at the same time to notice it while vaping so not a deal breaker for me at all. I like how clicky that fire button is, So you definitely know when you're pressing the button and I do like a good clicky button over a “squishy” one. The chip itself is nice and easy to use. Nothing overcomplicated in that. You flip the screen, you lock your wattage, change your wattage, no temperature control to mess around with no curve mode, just wattage. You press power to make it work. It's not overcomplicated so anyone can make this thing work.
The stock coil flavor from both coils is outstanding. For those that don't want the venture in the rebuilding, the stock coils are just fine. Flavor is lovely and the lifespan is just as expected. You may experience a different lifespan of your coils. I just like to push the boundaries on these things. And then there’s that RBA. The flavor in that RBA is exceptional! I Don’t know if it's because of the chamber and how it's actually been created, but there's something about that RBA itself that just makes the flavor pop. I haven't tasted that liquid as good as I have anything else other than that. Chef's kiss.
The device itself is not overly big either. It fits in my hand just fine. It's certainly not uncomfortable to hold and the fire button's in the right position as well. Airflow that you get from the side and through there is perfect. It is not too much, it's not too little, it's just right.
It's made of ABS plastic, so it is not gonna be heavy, but I don't feel like it feels cheap either. Still has that quality feel to it.
Overall for what you get in that pro kit, this is definitely well worth it and if you like flavor like I do (and I'm pretty sure a lot of others do too) The Kuka is definitely the one for you!
Written by Samuel Adams